To add a new language and set up a default language for your frontend and backend follow the steps mentioned below :
Opencart themes come with a few pre-installed languages so if you want to display your website displayed in a different language. You will not have it available out of the box.
You will have to install the Language pack separately
To download the language pack, go to the official Opencart marketplace website. And search for a language you want to install in the search bar.
You will see both paid and free language packs. Choose the language pack as per your Opencart engine version and download it.
After you download the language pack, upload the “Admin” and “Catalog” folders from the downloaded and extracted language pack archive to the root Opencart folder on your hosting server. You can use the cPanel file manager tool or FTP client for this purpose.
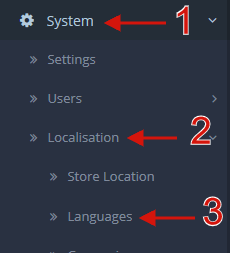
After getting it done, open your Opencart admin panel and go to the System ➜ Localizations ➜ Languages and click on the Add new button.
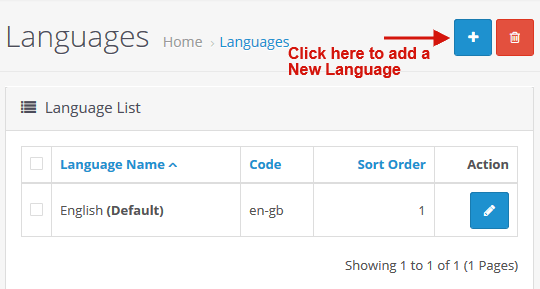
Add the details of the options mentioned below :
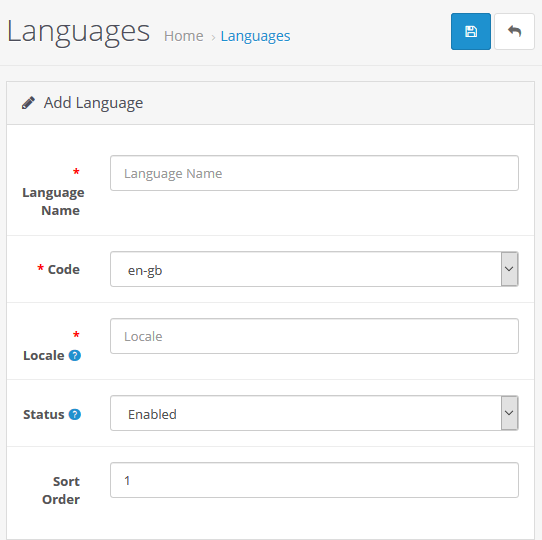
- Fill the fields – the language pack usually comes with a read.txt file that contains important information. Don’t forget to save the changes you made after filling in all the details.
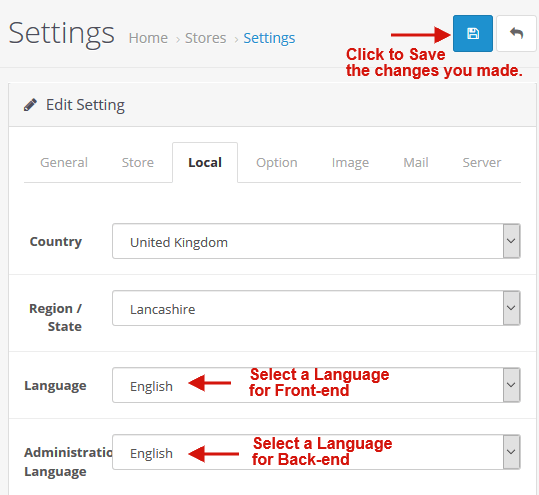
- Your language is now installed. Now in your admin panel go to the System ➜ Settings ➜ Edit ➜ Local tab to choose your primary website language.
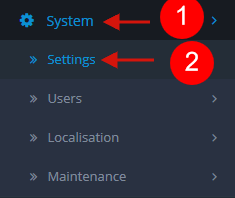
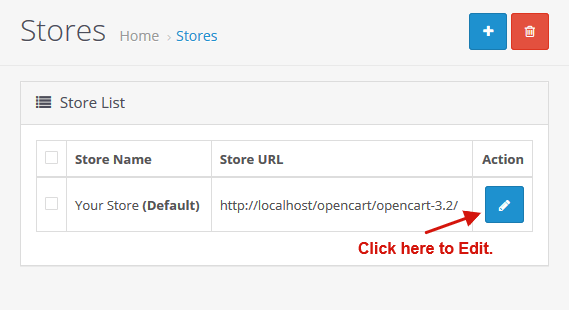
The Language field is for the default frontend language.
The Administration Language is the Admin Panel (backend) language.
- Choose the Newly installed language for both frontend & backend as shown below :
Your new language will be update.
Hope this tutorial will be helpful to you!
Related Tutorials For Opencart :