To add the custom fonts follow the steps mentioned below :
1. To change the font of the menu items. Find a font that is used for particular text on your template using developer tools. For example, we will use Firebug – Mozilla firefox plugin.
2. In the catalog\view\themeXYZ\template\common\header.tpl file, we will be able to see all the fonts location, the link that can be found easily by rel=“stylesheet”
3. In our case, we can see the font for this menu is set in catalog\view\theme\themeXYZ\stylesheet.css, so we will have to reach this file via cPanel or FTP and open it with a code editor, where we can see the font reference via @import method :
1. @import url (//maxcdn.bootstrapcdn.com/font-awesome/4.4.0/css/font-awesome.min.css);
2. @import url(//font.googleapis.com/css?family=Roboto+slab:400, 300, 700&subset=latin,cyrillic);
4. In order to add a new font and change it for the menu, we will have to install it.
5. Go to https://fonts.google.com/ and choose the appropriate font using filters.
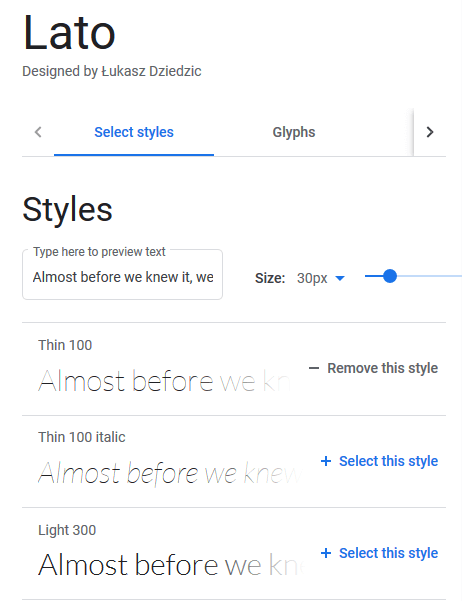
6. Press the Add button to select the font as per your choice.

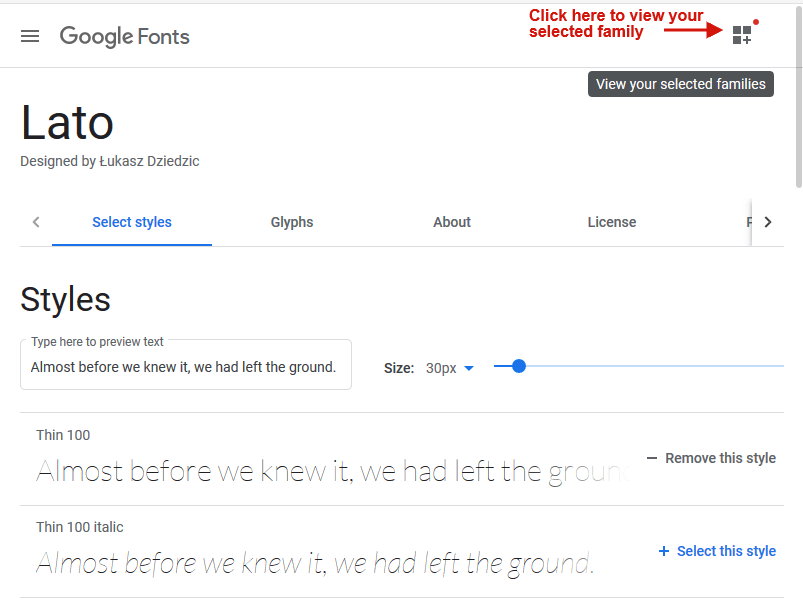
7. Click on the selected family tab as shown below :

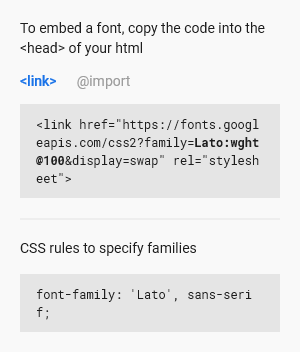
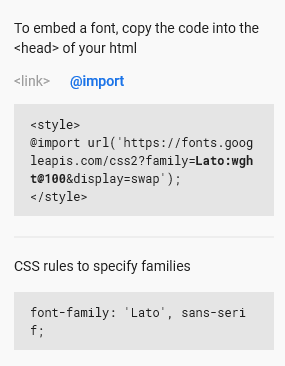
8. You will get two methods for adding the font in the Embed tab :
- Standard – it should be used for inserting the font to catalog\view\theme\themeXYZ\template\common\header.tpl or header.twig in the <head> section along with other fonts :

- @import – it is used for inserting the font to the needed CSS file, generally to catalog\view\theme\themeXYZ\stylesheet\stylesheet.css

You can use any method. The main key difference is that if you add the font to the header.tpl, it will be used all over the site, in case of adding it to a .css file. It will only be used on the pages, it makes no difference which method you use to add the font.
So you will need to copy the code to catalog\view\theme\themeXYZ\template\common\header.tpl or catalog\view\theme\themeXYZ\stylesheet\stylesheet.css depending on the method you select.
9. In both methods, you will see the specify in the CSS section for example –
|
This section defines the rule of the CSS to use setting this font family for the needed element.
10. In order to set the new font for the menu, we should add this code to the catalog\view\theme\themeXYZ\stylesheet\stylesheet.css file :
| 1 .sf-menu li > a {
2 font-family: ‘Bungee’ , cursive; 3 } |
11. Your CSS rule can be different depending on the inspected element. If the font is already set for the element, you can change its name in the rule itself. For example,
From
|
To
|
12. Save the changes you made.
To install the other fonts instead of Google web fonts follow the steps mentioned below :
1. Look for a free web font from any of your preferred search engines. There are lots of websites with a great number of fonts in their collections. One of them is www.fontsquirrel.com/
2. Select the font you like and save it to your computer by downloading it.
| Ensure that the font type is either OTF (Open Type Font) TTF (True Type Font). |
3. Go to www.font2web.com/ and click on the browse button to choose the downloaded .otf/.ttf font file.
4. As the font file is uploaded, click on the ‘convert and download’ button to download the converted font to your computer.
5. Upload the converted font package to the catalog\view\theme\themeXYZ\fonts folder of the website directory via cPanel or FTP and ensure to unzip the font files to the folder.
6. Now copy the code from fonts.css from the font package and paste it to catalog\view\theme\themeXYZ\stylesheet\stylesheet.css adding a direct link to the font in the following format: Http or Https://your-website-url.com/themes/themeXYZ/fonts/font_file
7. Add the font-family CSS code from font.css to the required element, for example, we will add CSS code to catalog\view\theme\themeXYZ\stylesheet\stylesheet.css to change the menu items font:
|
8. Save the change you made.
Hope This Tutorial Will Be Helpful To You!
Related Tutorials For Opencart :
How To Manage Your Website’s Information pages | OpenCart 3.x
How To Add A New Link To Footer Menu | OpenCart 3.0
How To Manage Notification Of The Footer Copyright | OpenCart 3.0