What changes can you make with the sections?
- You can change the homepage content.
- You can modify the content position in a few clicks.
- You can remove sections from the page.
- You can add the new content to the page.
- You can preview the changes you made in mobile and desktop mode.
- You can add or edit the content inside the footer and header of the website.
- You can easily upload images.
To manage your online store sections follow the steps mentioned below :
NOTE: All the Shopify theme doest not support sections. The section can be different within themes.
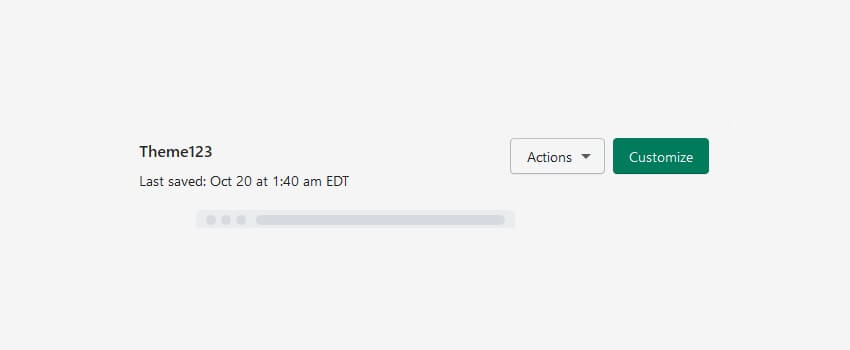
Open your Shopify admin panel and go to the Online store ➜ Themes ➜ Customize section :

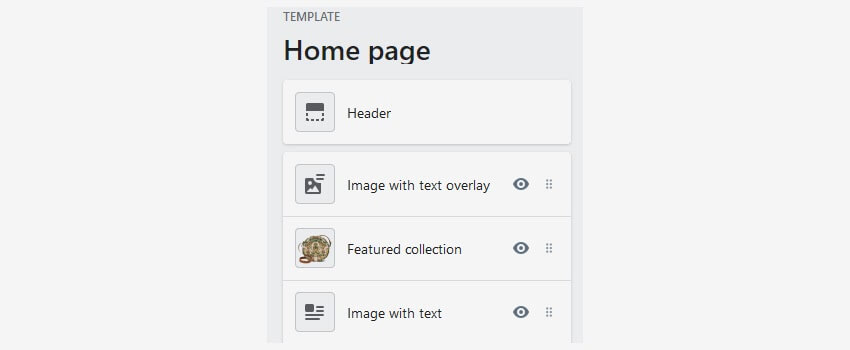
As you click on the customize button you will see the Section tab where you can add a new section or edit the existing one.

As you click on the section tab, you will be redirected to its position on the website in the customizer preview area.
How to Add new, re-order, or delete the content inside them?
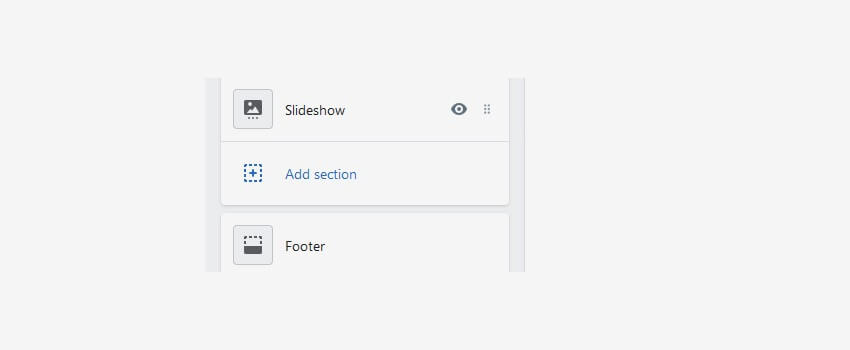
1. To add a new section, click on the Add section button above the footer tab.

2. To change the section’s order or content inside it, drag & drop the sections to your preferred positions.
3. To delete a section, click on the section, you can find the Delete section button under its content area.
4. As your changes are made, click on the Save button.
The most common sections you can manage your content are mentioned below :
NOTE: keep in mind that Header and Footer sections content are applicable to the whole website while the other sections are set up for the home page only.
1. In the Header section, you can set the options mentioned below :
- You can set the Main Logo of your store
- You can set the display of currency selector
- You can set the display of the search form.
- You can set the display of the Mega-menu.
- You can set the display of the Account links.
- Mega-Menu items as well as the display of the Wishlist if you open the General settings tab
In the Footer section, you can set the options mentioned below :
- You can set the display of the Payment icons.
- You can set the Linklist to be displayed in the footer
- You can set the footer content block content.
- You can set the Newsletter form.
- You can set the Social links in the footer.
- You can set the display of ‘Powered by Shopify’ in the footer.
2. In the Slideshow tab you can set the options mentioned below :
- You can turn on/off the Slideshow autoplay transition duration.
- You can change the Slider image size, Edit the slide’s content, and order.
3. In the Hompage banners section you can change the options mentioned below :
- You can set the text color.
- You can set the text alignment.
- You can set the banner’s order and content.
4. In the Featured products you can set the options mentioned below :
- You can set the Heading (Title).
- You can select the collection for the area of featured products.
- You can select the number of products to show featured products.
- You can set the Product image size.
- You can set the product image alignment.
5. In the Blog section you can set the options mentioned below :
- You can set the Blog’s block title(heading).
- You can set the blog.
- You can set the number of blog posts to be displayed.
- You can set the display of the Author.
- You can set the display of the ‘View all’ button.
- You can set the preferred size of the selected images.
- You can edit the image alignment.
- You can set the text position.
6. In the Newsletter section you can set the options mentioned below :
- You can set the display of the background image.
- You can set the Newsletter title.
- You can set the Newsletter text.
- You can set the Newsletter button text.
You can set the sections name based on their content. It depends on the type of the added section, you can edit the existing content in the same way as you do in other sections.
Hope this tutorial will be helpful to you!
Related Tutorials For Shopify :
Shopify Theme Options Overview
Enable/Disable Store Password Protection
Change Your Store Google Map Location And Contact Details